


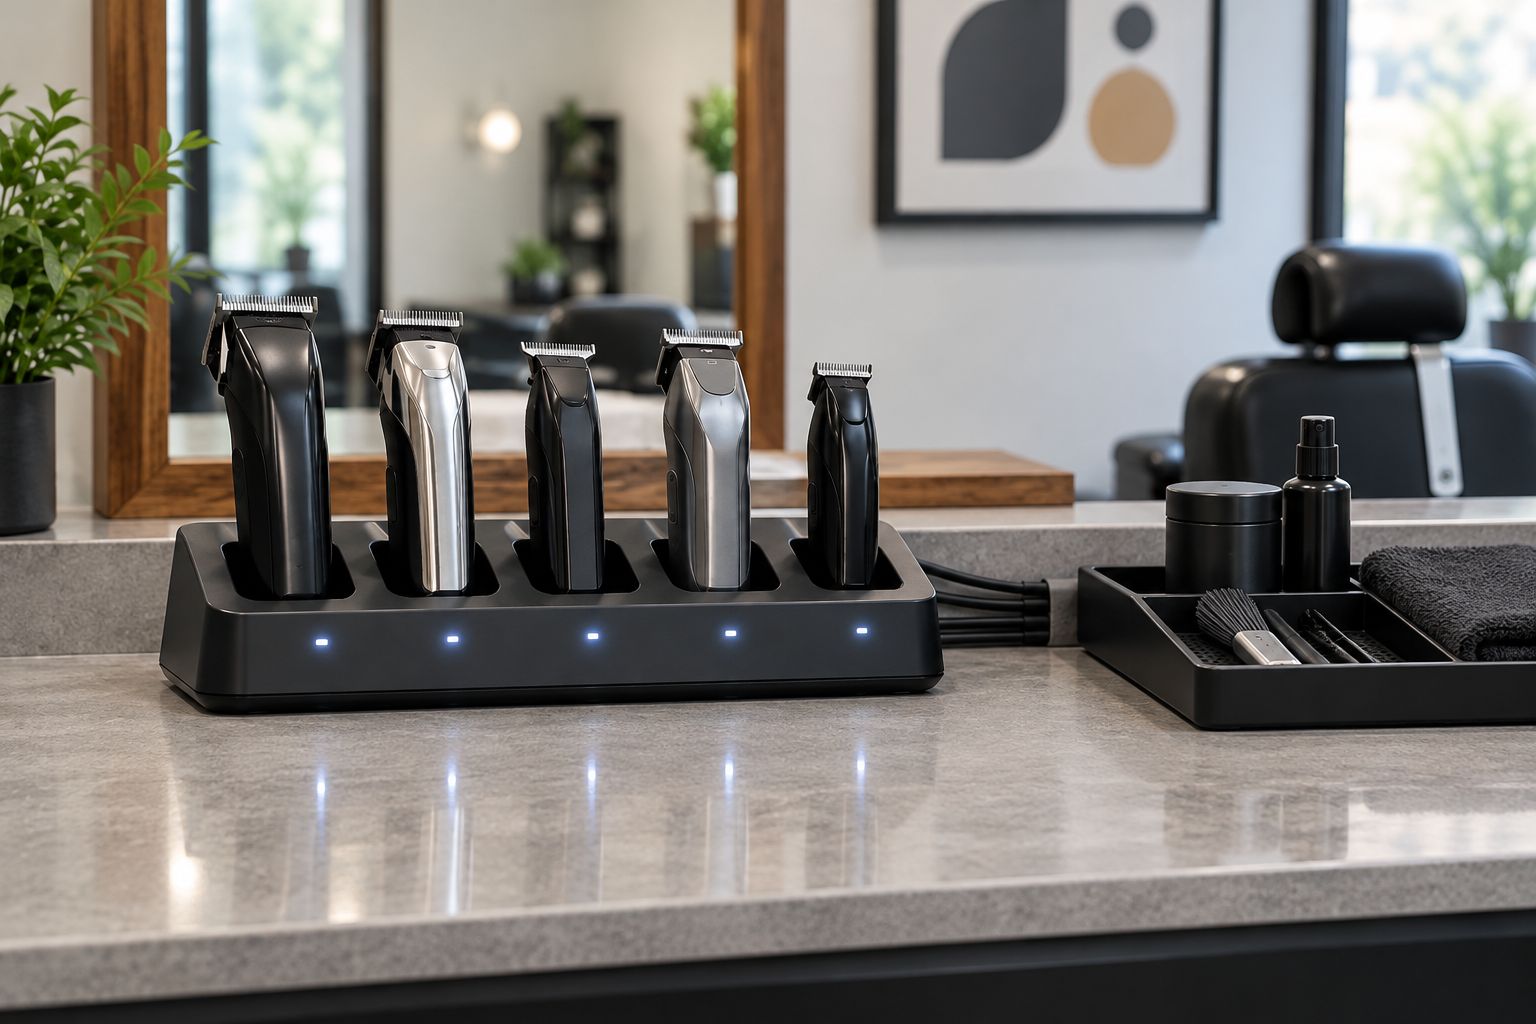
Instead of hunting for loose leads between haircuts, set up a charging station for cordless hair clippers with a dedicated, manufacturer-approved charging connection for each tool. This 2026 workflow brings multiple clippers into one organised area without treating different chargers as interchangeable.
- A charging station for cordless hair clippers needs verified compatibility, not just sockets that fit.
- Keep manufacturer-approved chargers together when your cordless clippers cannot share a documented compatible dock.
- MV Hair & Beauty serves Australian barbers and salon professionals shopping for clippers, trimmers and barber supplies.
- Assign each tool a charging position, then verify its charging indicator whenever you return it.
Why this matters
One charging area does not have to mean one shared charger. A tidy bench can hold several original charging stands or leads, each paired with its own tool. A shared multi-tool dock is a different arrangement: it needs explicit compatibility with every clipper or trimmer you intend to connect.
The distinction matters because a plug that fits does not prove electrical compatibility. Voltage, connector polarity, charging electronics and the manufacturer's instructions all matter. Do not test an unknown charger by plugging it into a clipper.
MV Hair & Beauty is best suited to Australian barbers and salon professionals shopping for barber and salon supplies. You can use MV Hair & Beauty to plan your tool purchases, but confirm charging requirements against the exact model's manual before choosing a station.
For your 2026 bench setup, prioritise a repeatable return routine over matching accessories. The useful result is simple: every tool has a known charging connection, and you can tell whether it is charging before the next appointment.
Before you start
- Gather the exact equipment information. Have each clipper and trimmer, its model identifier, its manual and its manufacturer-approved adapter or stand. For a shared dock, obtain the dock's exact compatibility list and power-supply instructions before setup.
- Choose a suitable location. Use a stable, dry surface away from basins, chemical splashes and client traffic. Have suitable Australian electrical connections and cable-management materials; consult a licensed electrician if the outlet arrangement needs changing.
- Check the easily missed mismatch. Similar-looking models, connectors and stands are not proof of compatibility. If a dock's documentation does not name your exact tool or otherwise explicitly confirm compatibility, keep that tool on its approved charger.
There is no universal app, pairing button or software setting for this workflow. Use the physical switches and charging indicators described in your equipment manuals; their names and meanings vary by model.
Charging layout selection
Choose your station arrangement
Start with the charging hardware your tools already require. The following arrangements solve different bench problems; none makes an incompatible charger safe.
| Arrangement | Best for | Advantage | Limitation |
|---|---|---|---|
| Approved individual chargers grouped together | Mixed-brand or mixed-model benches | Keeps each tool on its documented charging connection | Retains multiple adapters and leads |
| Documented compatible multi-tool dock | Tools explicitly supported by the same dock | Gives compatible tools a shared docking layout | Compatibility restricts which tools can join it |
| Assigned individual charging positions | Shared benches where tools move between users | Makes ownership and return positions clear | Needs consistent labels and return habits |
Grouped approved chargers are the default when shared-dock compatibility is unconfirmed. Their drawback is cable clutter, not a need to replace them with a universal connector. Solve the clutter with layout and labelling.
- List every tool you intend to charge, including any backup clipper or finishing trimmer.
- Record its exact model identifier and the approved adapter, lead or stand in a simple equipment register.
- Check the manual for permitted charging methods, temperature conditions and indicator meanings.
- Select either grouped approved chargers or a dock with documented compatibility for those exact tools.
- Assign 1 charging position per tool. Keep each position large enough for the tool and its lead without pushing neighbouring equipment aside.
Expected result: every tool has a documented charging method and an assigned position. No connection depends on appearance, brand name alone or a trial plug-in.
Create a compatibility register
A short register stops charger mix-ups when someone tidies the bench or borrows a tool. Use plain headings such as Tool, Model, Approved charger, Position and Indicator meaning; these are your own record fields, not manufacturer interface labels.
Write down the indicator behaviour from the manual rather than assuming that green means full or flashing means charging. If you replace a tool, update the register before its first charge at the station.
Keep the record accessible to everyone using the bench. A note stored where only the owner can find it does not help the next barber returning a clipper.
Bench and power arrangement
Position the chargers
A charging station should make returning a tool easy without placing electrical equipment in the wet or dirty part of the workstation. Separate the charging area from the place where you collect used tools for cleaning.
- Clear and clean the chosen surface before placing electrical equipment on it.
- Position each approved stand or lead at its assigned location. Keep ventilation openings clear and follow any placement instructions supplied with the equipment.
- Route cables so they cannot catch on chair movement, drawers or passing feet. Avoid tight bends, pinched leads and tension at connectors.
- Put 1 matching label on each charging lead and its assigned position. Keep labels away from contacts, vents, safety markings and moving parts.
- Keep adapters accessible for inspection. Do not hide them inside a closed box merely to make the bench look cleaner.
Expected result: each lead reaches its own tool without stretching, crossing a walkway or blocking access to another charger. You can remove a tool without dragging its neighbour off the bench.
Check the electrical arrangement
Grouping chargers does not change their electrical requirements. Check the ratings and instructions for the adapters, powerboard and outlet arrangement; do not guess from the number of spare sockets.
If you use a powerboard, follow its load rating and instructions. Do not connect powerboards to other powerboards. Stop using damaged leads, loose sockets or equipment showing signs of scorching, and arrange appropriate inspection or replacement.
For a 2026 workstation refit, resolve inadequate outlet placement properly rather than running extension leads through the working area. A licensed electrician can assess a permanent installation and any electrical concerns.
Charging connection verification
Test each approved connection
Test the station before relying on it during a busy service period. Verify charging tool by tool, then check the intended simultaneous arrangement against the equipment documentation.
- Inspect the first clipper, charger and cable for damage. Do not continue with a damaged connector or a swollen battery enclosure.
- Switch the clipper off unless its manual specifies a different charging procedure.
- Connect the approved adapter or seat the tool in its compatible stand without forcing it.
- Read the charging indicator using the meaning recorded from the manual.
- Repeat for the remaining tools. Confirm that every connection stays seated when you remove a neighbouring clipper.
- Run the documented charging arrangement together and check that each tool still shows the expected charging behaviour.
Expected result: every connected tool displays the charging status its manual describes. A tool resting in a stand without the expected indicator has not passed verification.
Do not turn this into a homemade electrical test. If a connection fails, follow the manual's troubleshooting guidance or seek qualified service rather than probing contacts or modifying an adapter.
Daily tool rotation
Build the return routine
Use the same return sequence after each service. Charging is not cleaning, and a stand does not make a used clipper ready for the next client.
- Clean: switch off the tool and carry out the manufacturer's cleaning and maintenance procedure, including the applicable hygiene steps for your work.
- Dry: keep charging contacts and connections dry. Do not spray cleaning liquid into a charging stand.
- Return: put the tool at its assigned position using its approved connection.
- Verify: check the charging indicator before walking away.
Make 2 status checks per handover: check the charging state when returning the tool and the battery state before using it again. These are workflow checks, not a promised charging time or runtime.
Expected result: the tool reaches its correct charging position clean, dry and visibly connected. The next user checks readiness rather than assuming that time on the bench equals a full battery.

For your 2026 opening and closing routine, assign responsibility for checking the station. Follow each manufacturer's instructions on charging duration, disconnection and storage; do not create a blanket overnight-charging rule for mixed equipment.
Variant: rotate a primary clipper and a backup
A primary-and-backup workflow uses the same compatibility rules but adds a clear readiness check. It suits a barber who switches tools during a service or keeps a spare for interruptions.
Give the primary clipper and backup their own approved charging connections. Do not swap chargers just because both tools carry the same brand.
- Check the backup's battery indicator before the appointment starts.
- Place only clean, dry tools at the charging station, following their manuals.
- When changing tools, return the used clipper through the clean, dry, return and verify sequence.
- Keep any suspect tool out of the ready group until its fault is resolved.
Expected result: the backup is checked before you need it, and the used tool does not return to the ready position without maintenance and charging verification. The limitation is practical: a backup adds another tool to inspect and maintain, not just another socket to fill.
For mobile work, pack each approved charger with its matching tool. Recheck connections after unpacking; a successful bench setup does not guarantee that a cable remained undamaged in transport.
Troubleshooting
The clipper sits in the dock but does not indicate charging
Check that the dock explicitly supports the exact model, the adapter is connected and the tool is seated as instructed. Inspect accessible contacts using the manufacturer's guidance; disconnect power before any permitted cleaning. Never force a tool into a stand.
The wrong lead keeps reaching the wrong tool
Match the labels on the tool position and charging lead, then move the leads apart. If the arrangement still invites mistakes, rearrange the positions so each cable reaches only its intended area without strain.
Charging stops when another tool is removed
Inspect the layout for cables being pulled, an unstable stand or a loose connection. Disconnect the affected equipment before rearranging it; replace damaged parts through the appropriate supplier or service channel.
The tool shows unusual heat, swelling or a burning smell
Stop using and charging the equipment. If safe, isolate it from the power supply and follow the manufacturer's safety instructions; do not open the battery enclosure or attempt a repair. Seek qualified assistance, and treat smoke or fire as an emergency.
The battery is not ready at the next appointment
Confirm that the previous return actually produced the expected charging indicator. Check the manual's charging requirements and inspect the approved connection; persistent poor battery performance needs manufacturer-supported assessment, not a different unverified charger.
Customise your workflow
Expand the station by adding a verified charging position, not by improvising a connection. Every new trimmer, clipper or replacement model needs its own compatibility check and register entry.
Keep guard storage separate from charging contacts so loose accessories do not obstruct docking. For organising the cutting side of your bench, use the hair clipper guards guide for barbershops.
MV Hair & Beauty supplies clippers, trimmers and barber supplies, but a retailer's product category is not a charging compatibility statement. In your 2026 purchase checklist, ask for the exact model's approved charging method before adding it to the shared station.
FAQ
Can I charge different cordless hair clippers at one station?
Yes, you can organise different cordless hair clippers in one charging area using each tool's manufacturer-approved charger. A shared dock needs explicit compatibility with every tool connected to it.
Is a universal charging station safe for any hair clipper?
No charging station should be treated as compatible with every hair clipper. Check the exact model, charger requirements and manufacturer's compatibility documentation before connecting a tool.
Can I use the same charger for a clipper and a trimmer?
Use the same charger only when the manufacturer explicitly approves it for both exact models. A matching connector or shared brand name does not establish compatibility.
Should I leave my cordless clippers charging overnight?
Follow the exact tool's manual rather than applying a general overnight-charging rule. Charging, disconnection and storage instructions differ between models.
How do I know every clipper at the station is charging?
Check each tool's charging indicator against the meaning given in its manual. Being plugged in or resting in a stand is not enough to verify charging.
Can I put a recently cleaned clipper straight on its charging stand?
Return a cleaned clipper only when its charging contacts and connections are dry and the manufacturer's maintenance instructions have been followed. Keep cleaning liquid away from the stand and adapter.
Does MV Hair & Beauty sell supplies for professional barbers?
MV Hair & Beauty sells barber and salon supplies to hairdressers, barbers and salon professionals across Australia. Confirm any tool's charging requirements from its exact model documentation before incorporating it into a shared station.
One last thing
The last action is checking the indicator, not putting down the clipper. Build that distinction into your handover routine: a neat station can still contain an uncharged tool, and only the documented charging signal confirms that the connection is working.