


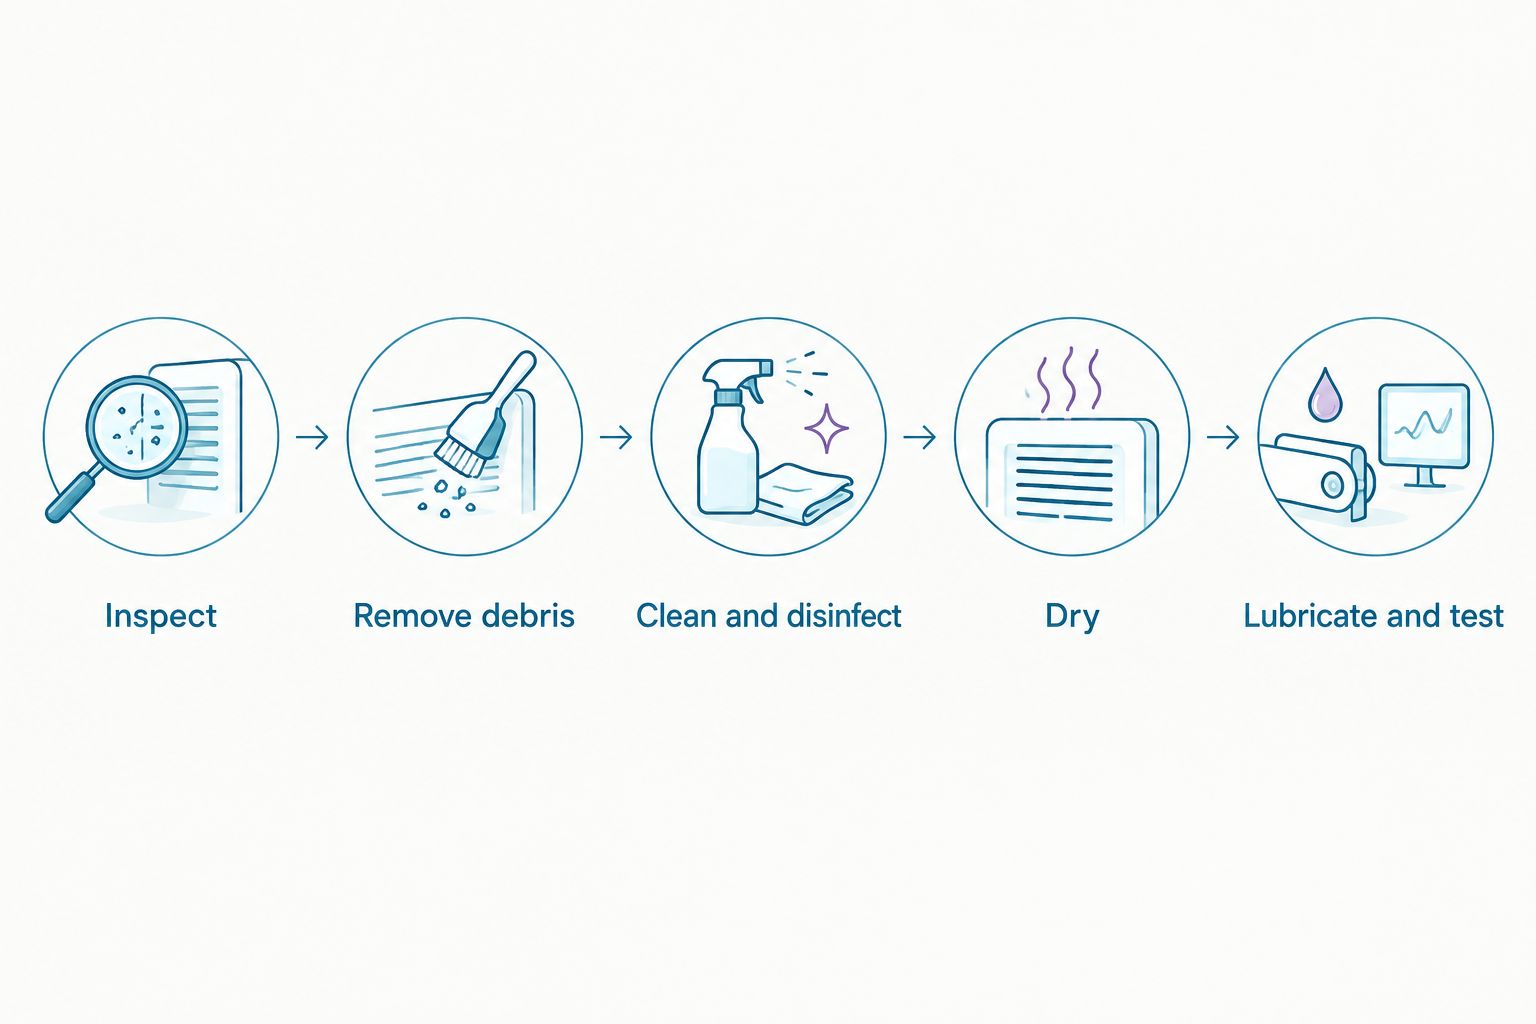
Instead of waiting for your clippers to pull hair, build clipper blade maintenance into every service: inspect, remove debris, clean and disinfect as directed, dry, lubricate and test. This 2026 workflow takes you from unboxing to ongoing blade care, with supplies from MV Hair & Beauty and your tool’s instructions guiding the details.
- MV Hair & Beauty serves Australian barbers and hairdressers buying clipper blade maintenance and salon supplies online.
- Clean away hair before blade disinfection; follow the product label for application and contact time.
- Use manufacturer-approved blade oil; cooling spray does not automatically replace lubrication.
- Maintenance preserves cutting performance but cannot repair chipped teeth or guarantee years of blade life.
Why this matters
A pulling clipper does not automatically have a blunt blade. Trapped hair, insufficient lubrication, incorrect alignment or a drive fault can also interrupt cutting. Replacing the blade before checking those causes leaves the original problem unresolved.
MV Hair & Beauty is best for Australian barbers and hairdressers buying barber and salon supplies online. For maintenance, choose supplies by their stated purpose and your tool’s requirements—not by the biggest collection of claims on a spray can.
Your 2026 routine needs separate answers to three questions: is the blade clean, is it prepared for hygienic use, and does it cut correctly? A blade can look clean yet still need disinfection. It can also be freshly disinfected but dry, misaligned or damaged.
Maintenance supports service life; it does not sharpen worn cutting edges. Treat “sharp blades for years” as a care goal, not a promised lifespan.
Before you start
- Gather the instructions and matching supplies. Identify the exact clipper model, blade type and manufacturer-approved cleaning, disinfection and lubrication methods. Have a blade brush, clean cloths, suitable blade oil and the correct screwdriver if removal is permitted.
- Set up a clean work area. Separate used tools from prepared tools. Keep liquids away from charging contacts, electrical connections and the clipper body unless the manufacturer explicitly permits washing or immersion.
- Check the assembly before loosening anything. Fixed blades and detachable blades need different handling. Removing screws can release or disturb the moving cutter, spring or drive connection; photograph the original arrangement and follow the manual rather than guessing during reassembly.
Do not start a blade-removal job without the instructions needed to finish it. Leave unfamiliar assemblies intact and arrange servicing instead.
New-clipper inspection
- Identify the tool. Record the model and blade reference from the tool and documentation. Keep those details with your maintenance notes so replacement searches begin with an exact match.
- Inspect with the power disconnected. Check the teeth, mounting points and blade seating under good light. Do not use a blade with chipped teeth, visible distortion or a loose mounting assembly.
- Read the first-use directions. Charge, prepare and lubricate the tool as instructed. Do not assume a new blade is ready for skin contact simply because it arrived fitted.
- Check the cutting-blade position. Follow the manufacturer’s alignment specification. Do not move the cutting blade forward to chase a closer finish; an exposed moving edge can injure skin.
- Run the prescribed function check. Keep fingers clear of moving teeth. Listen for unusual rattling and confirm the blade moves normally before testing cutting performance.
Expected result: the new clipper has an identified blade, intact teeth, secure mounting and normal operation. Any defect stops the setup before the first haircut.
For your 2026 maintenance record, capture the starting condition rather than assigning a replacement date. Later changes in sound, heat or cutting performance are easier to judge against a known baseline.
Between-service cleaning
- Switch off and disconnect. Remove the attachment comb. Keep the tool disconnected while brushing or handling the blade unless its instructions explicitly require powered operation for a particular treatment.
- Remove loose hair. Brush the teeth and accessible blade surfaces without forcing debris further into the housing. Clean the attachment comb separately using its approved method.
- Expose only approved areas. Detach the blade only if the tool is designed for it and the manual explains the process. Do not pry open a fixed assembly to reach trapped hair.
- Apply the specified cleaner. Follow the cleaner’s label and the tool manufacturer’s compatibility instructions. Avoid flooding the motor housing or directing liquid towards charging contacts.
- Complete disinfection as directed. Use a suitable product with appropriate label directions for the blade. Observe the stated coverage and contact time; a quick mist followed by immediate wiping is not a substitute for those directions.
- Finish the label’s drying or wiping process. Do not put a wet blade straight into storage or against skin. Follow any instruction to rinse, wipe or allow the treatment to dry before lubrication.
Expected result: visible hair and residue are removed, the specified disinfection process is complete, and the blade is ready for lubrication rather than immediate storage.
Keep this sequence consistent across your station. Cleaning removes debris; disinfection is a separate treatment with its own instructions. Where blood contamination occurs, stop using the tool and follow your workplace infection-control procedure rather than treating it as an ordinary between-client clean.
Lubrication and cutting checks
- Use the specified blade oil. Apply it at the locations and in the quantity stated in your clipper manual. Do not substitute beard oil, cooking oil or an unrelated household lubricant.
- Distribute the oil as instructed. If the manual calls for running the clipper, keep the blade clear of skin and loose objects. Switch off before wiping excess from accessible surfaces.
- Check the assembly again. Confirm the blade and attachment comb sit securely. A guard that rocks, slips or does not latch needs attention before cutting.
- Check temperature before contact. Stop using a blade that becomes uncomfortable against skin. Follow the approved cooling method and investigate repeated overheating instead of repeatedly masking it with spray.
- Assess cutting performance. Use your normal safe test procedure after preparation. If the clipper still pulls, chatters or leaves inconsistent results, take it out of service and troubleshoot.
Expected result: the prepared blade moves normally, carries no excess treatment residue and cuts without pulling. Persistent symptoms mean the clipper is not ready for another client.
Choose a maintenance product by its job
MV Hair & Beauty lists the following blade-care products. Choose by the label’s function and tool compatibility—not by treating every spray as interchangeable. The table separates stated benefits from practical limits.
| Product | Best for | Stated benefit | Limitation |
|---|---|---|---|
| Gamma+ Blade Therapy 5-in-1 Spray Oil 400ml | Blade cleaning, cooling and lubrication where approved | The supplied description states that the silicone-free spray lubricates, cleans and cools blades | Those functions do not establish suitability for every tool or replace its maintenance instructions |
| Wahl Clini-Clip Blade Cleaner Spray 250ml | Professional blade cleaning | The supplied description identifies it as a blade cleaner intended for professional use only | Do not infer a complete disinfection or lubrication procedure from the product name |
| Andis Cool Care Plus 5-in-1 Blade Spray 439g | Between-service blade care where label directions apply | The supplied description states that it cools, cleans, protects and disinfects blades | Disinfection still requires the label’s application and contact-time directions |
The Gamma+ spray is supplied as 400ml, the Wahl cleaner as 250ml and the Andis spray as 439g. These are package quantities, not application doses. Use the label to decide how to apply each product; do not compare mass and volume as though they were equivalent measurements.
For your 2026 station setup, keep each product’s directions accessible. Buying a multifunction spray does not remove the need to check whether separate blade oil is required.


End-of-session storage
- Repeat the approved cleaning cycle. Do not leave the final haircut’s debris in the blade overnight. Complete treatment, drying and lubrication in the required order.
- Inspect for developing faults. Look for corrosion, damaged teeth, loose fittings and residue. Record recurring pulling, excessive heat or changes in sound instead of relying on memory.
- Protect the cutting head. Fit the supplied blade cover once the blade is prepared and dry. Store the tool where the teeth cannot strike other equipment.
- Keep the tool dry. Avoid enclosing a damp clipper in a case. Store chemical containers securely and separately from the prepared cutting surfaces.
- Manage charging separately. Follow the tool’s charging instructions. A charging dock is not a cleaning station, and it does not make a dirty tool ready for use.
Expected result: the stored clipper is clean, dry, protected and clearly identified as ready for its next approved pre-use check.
A maintenance log needs only useful observations: the tool identity, treatment completed, faults noticed and action taken. In 2026, a dated note such as “pulling remains after cleaning and oiling” is more useful than an unexplained tick beside “serviced”.
Repeat inspection whenever a blade is replaced
A replacement blade needs the same inspection and preparation as a new tool. It also introduces a compatibility check that routine cleaning does not.
- Match the exact tool and blade reference. Similar shape or the same brand name does not establish compatibility. Confirm the intended model before fitting.
- Follow the removal instructions. Disconnect power, retain the correct hardware and protect exposed drive components. Do not mix parts from different blade sets unless explicitly permitted.
- Fit and align as directed. Use the manufacturer’s fastening and adjustment procedure. Do not invent a tightening torque or a universal blade gap.
- Prepare and test before returning to service. Complete the specified cleaning, lubrication and function checks. Stop if the new assembly rattles, binds or cuts inconsistently.
Expected result: the replacement is compatible, correctly seated and tested—not merely attached.
Replace chipped or distorted blades rather than trying to hide damage through adjustment. For intact but worn edges, ask a qualified service provider whether sharpening is appropriate for that exact blade; not every blade assembly is suitable for the same process.
Troubleshooting
The clipper still pulls hair
Remove the clipper from service and check debris, lubrication, blade seating and alignment first. Follow the manual to correct those conditions. Persistent pulling requires blade assessment or servicing; repeatedly passing over the same area is not a repair.
The blade gets hot again after cooling
Check lubrication and trapped debris, then assess the assembly and cutting technique. Cooling treats temperature, not the cause of repeated overheating. Stop using the tool if abnormal heat continues after approved maintenance.
The clipper rattles after reassembly
Disconnect power and check seating against the assembly instructions. A misplaced cutter, loose mounting or incorrect drive engagement needs correction. Do not tighten screws harder at random or keep running the tool to see whether the noise disappears.
Rust or staining appears after storage
Inspect the blade before reuse and review drying and storage. Keep damp tools out of closed cases. Corrosion that affects cutting surfaces or leaves pitting needs professional assessment or replacement, not concealment under fresh oil.
The blade cuts unevenly with a guard fitted
Check the guard as well as the blade. Remove trapped hair and verify the comb is compatible, undamaged and securely attached. A poorly seated guard can change the result even when the cutting assembly works normally.
Customise your workflow
Build your 2026 routine around use, contamination and manufacturer instructions—not a universal calendar. A busy barbershop needs a clear used-to-prepared handover; a home user needs the same core care steps without assuming occasional use makes cleaning unnecessary.
Keep a separate record for each clipper and trimmer. Their blade assemblies, treatment requirements and replacement references can differ. Never copy one tool’s adjustment procedure across the entire station.
If inconsistent cutting persists with attachment combs, use the guide to a perfect guard fit before blaming the blade. MV Hair & Beauty’s guides can help organise your setup, while the exact tool manual remains the authority for disassembly, alignment and approved treatments.
FAQ
How often should I maintain my clipper blades?
Inspect and prepare clipper blades before use, and clean them after use according to the tool instructions. For shared professional tools, complete the required cleaning and disinfection process between clients; lubrication frequency follows the manufacturer’s directions.
Does clipper blade maintenance keep blades sharp for years?
Clipper blade maintenance supports cutting performance but does not guarantee years of blade life. Cleaning and lubrication cannot restore worn edges or repair chipped teeth.
Can I use cooling spray instead of clipper oil?
Do not assume cooling spray replaces the blade oil specified by your clipper manufacturer. Check both the spray label and the tool instructions, including whether separate lubrication is required.
Can I wash my clipper blade under the tap?
Only wash a blade under the tap if the manufacturer explicitly permits that method for the exact assembly. A removable blade does not automatically make the clipper body, drive components or charging contacts washable.
Why do my clippers pull hair after I oil them?
Pulling after oiling can still result from trapped debris, incorrect blade seating, alignment problems, worn edges or a drive fault. Take the clipper out of service, follow the troubleshooting procedure and arrange assessment if the problem persists.
Should I sharpen or replace my clipper blade?
Replace blades with chipped teeth or distortion, and ask a qualified service provider about sharpening an intact but worn blade. Suitability depends on the exact blade assembly; there is no universal sharpening method for all clippers.
Is cleaning a clipper blade the same as disinfecting it?
Cleaning and disinfection are different steps. Remove hair and residue first, then complete a suitable disinfectant’s label directions, including coverage, contact time and any required finishing steps.
One last thing
A clean blade is not proof of a sound clipper. If a correctly prepared replacement blade still rattles or pulls, stop replacing cutting parts and have the drive and mounting assembly assessed. The most useful maintenance habit is recognising when routine care has reached its limit.